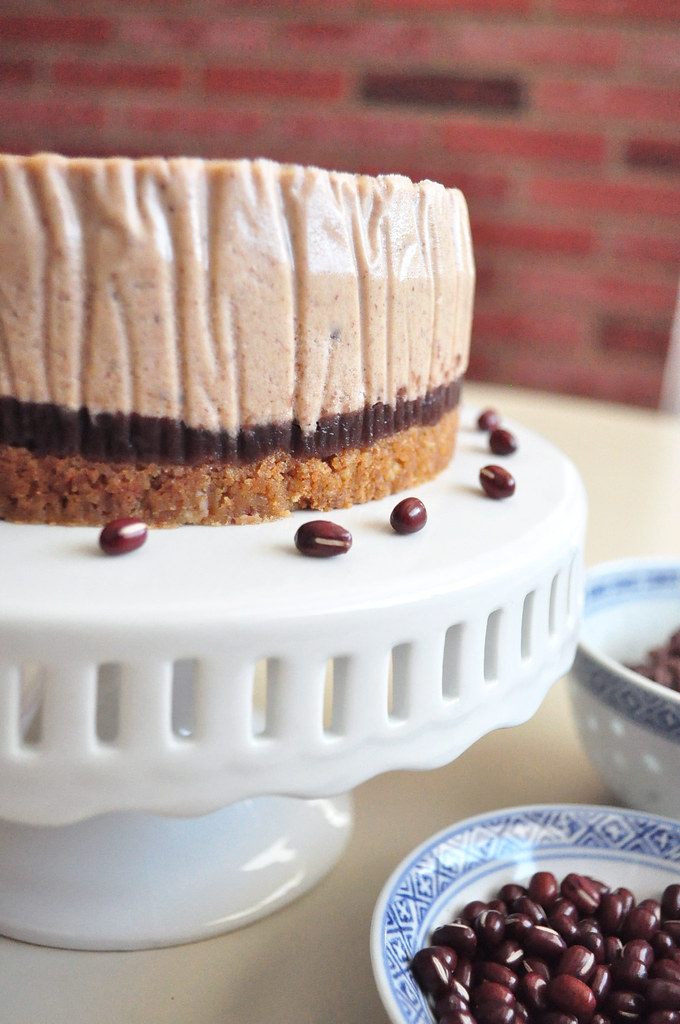
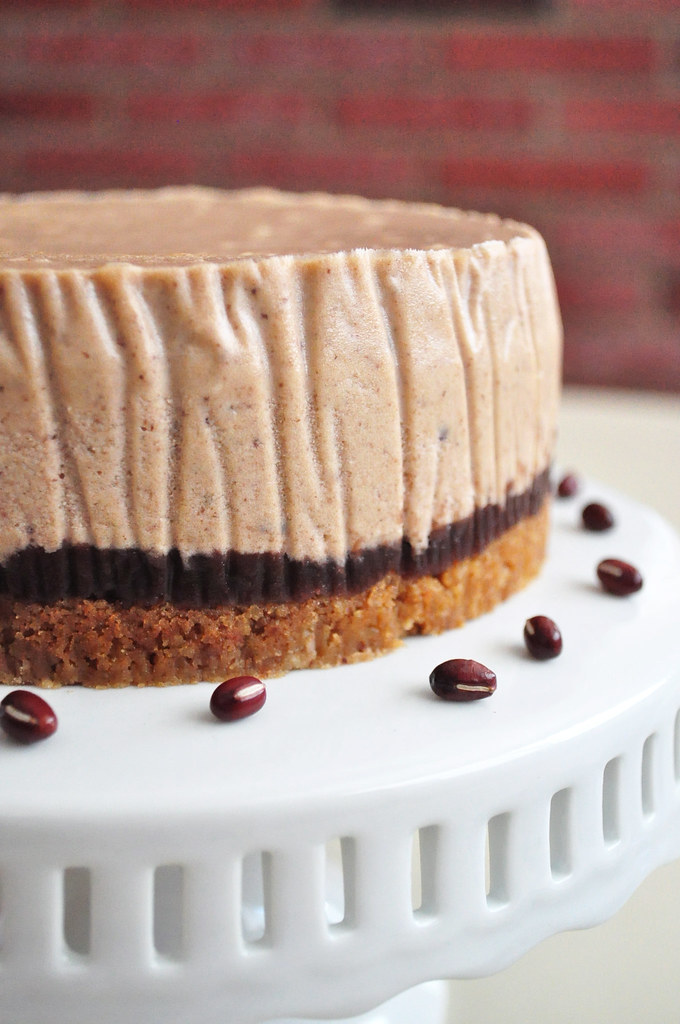
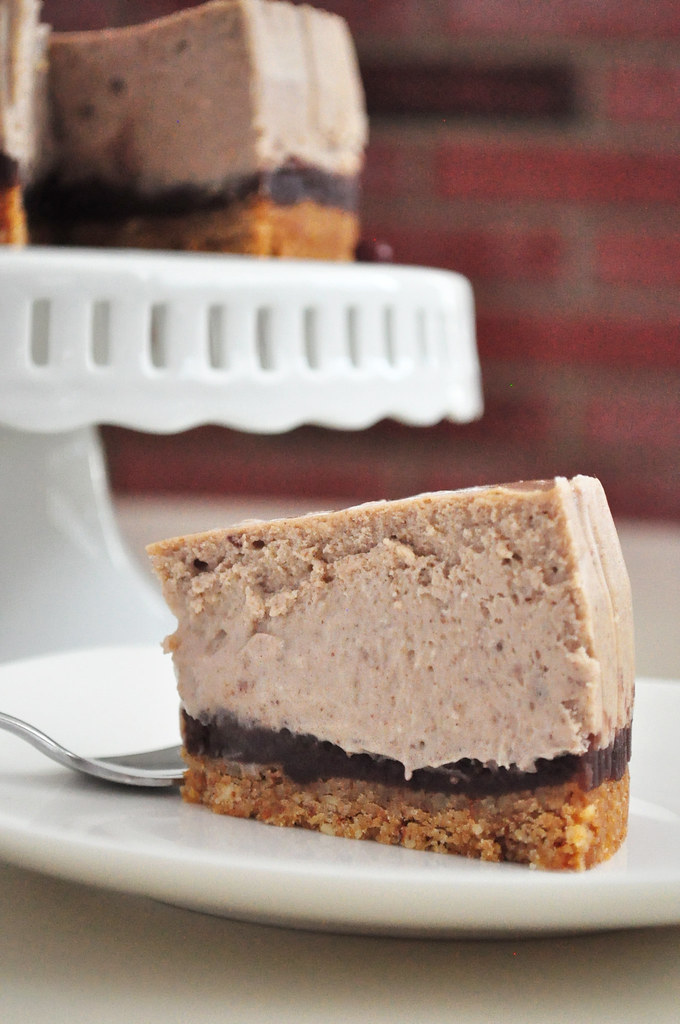
I was determined to make a cheesecake with the red bean paste, because I just really love cheesecake and wanted something different for dessert than the usual red bean soup for the new year. That and I don't like red bean soup =p So when making this cheesecake, I decided to add a layer of the bean paste in addition to mixing it into the batter to help make the bean flavor stronger. While I used homemade red bean paste, canned paste will work fine too. Making your own is really easy though and you can find my recipe for it here. The tangy cream cheese along with an almond crust go well with the red beans.
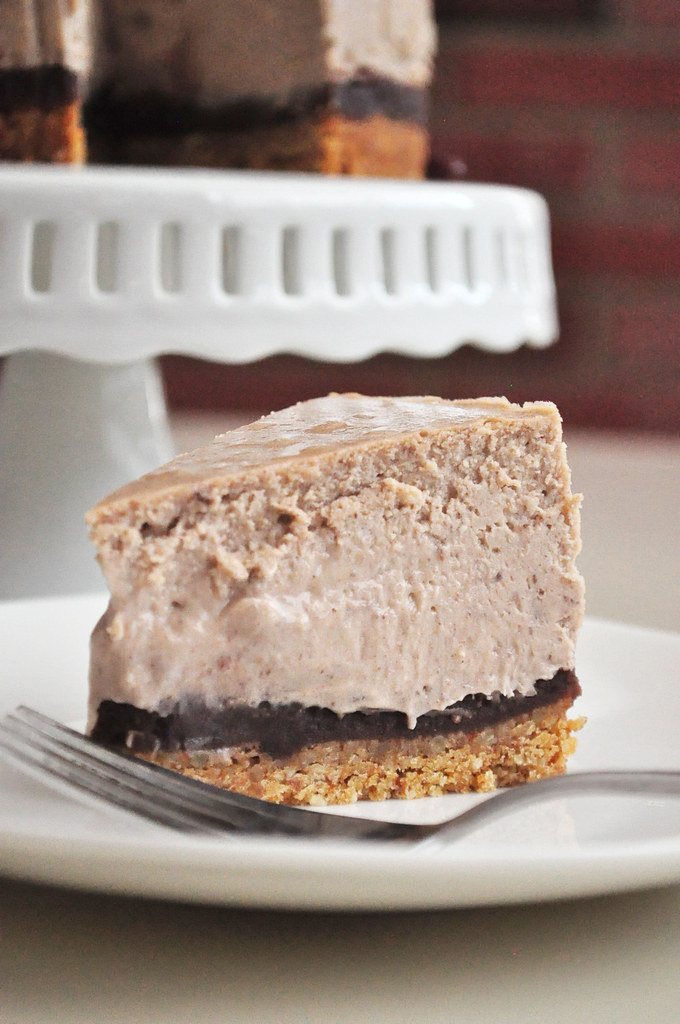
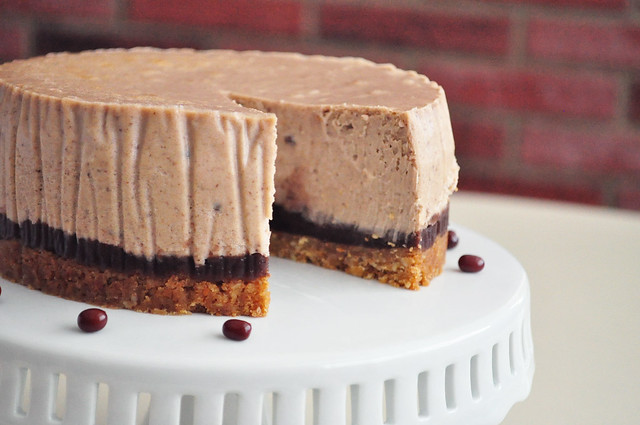
I have a confession, the lines along the sides of the cheesecake are from the parchment I used to line the pan because I did it kind of sloppily. I'm just going to pretend they're intentional =) Also, I kind of spaced out when I started baking the cheesecake, completely forgot when I put it in the oven and ended up taking it out a bit too early. So the middle is not as firm as I would like, as you can see from the photos, but it still tasted great!
This recipe makes a 6 inch cheesecake, but it's pretty rich so all you need is a small slice, which is great after eating a multi-course meal, but you still want something sweet. I hope everyone has some amazing dishes over the next few days and that this cheesecake is one of them! Enjoy!
Red Bean Cheesecake
Makes one 6 inch cheesecake
Ingredients
Crust
1/2 cup (48g) graham cracker crumbs, about 3-1/4 cracker sheets
1/4 cup (40g) almonds
1 tbsp (13g) light brown sugar, packed
1/8 tsp salt
1/4 cup (40g) almonds
1 tbsp (13g) light brown sugar, packed
1/8 tsp salt
3 tbsp (42g) unsalted butter, melted
Filling
10 oz (284g) cream cheese, softened
1/3 cup (69g) white sugar
1/4 tsp salt
1/2 tsp vanilla extract
1/4 tsp salt
1/2 tsp vanilla extract
1-1/2 cups (364g) red bean paste, divided. Recipe to make your own here
1/3 cup (89g) heavy cream, room temperature
1/3 cup (89g) heavy cream, room temperature
2 eggs, room temperature
Directions
Preheat oven to 350°F. Butter a 6 inch springform pan, line with parchment and then butter the parchment. In a food processor pulse the almonds until finely ground. Add the graham cracker crumbs, brown sugar, salt and pulse to mix together. Add the melted butter and pulse until combined and moist crumbs form. Press the crumbs into the bottom of prepared pan and bake for about 8-10 minutes until set and edges are golden. Remove from oven and allow to cool. Spread half of the red bean paste in an even layer over the crust. Wrap the bottom of the pan with tinfoil, making sure the foil comes up at least 3/4 of the pan's sides.
Preheat oven to 325°F. Place a kettle of water on to boil. In the bowl of a stand mixer with the paddle attachment, beat the sugar, cream cheese, and salt on medium low speed until smooth and creamy. Mix the remaining red bean paste with the heavy cream and vanilla until smooth, then add to the cream cheese mixture and mix until combined. Scrape the bowl down and with the mixer on low, add the eggs, mixing well. Pour into cooled crust and place the cheesecake pan into another, larger baking dish. Pour enough boiling water into the larger baking dish until it comes about halfway up the sides of the cheesecake pan. Bake for about 1 hour and 10 minutes until the edges have set but the center of the cheesecake has a slight jiggle. Remove from water bath and allow to cool to room temperature then chill in the fridge for at least 4 hours. Unmold from pan, slice and enjoy!

No comments :
Post a Comment