
Here's a little time lapse video of me making my puppet mold!
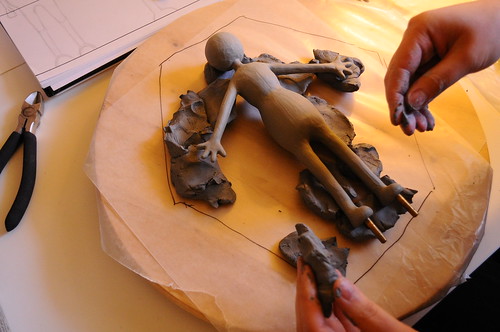
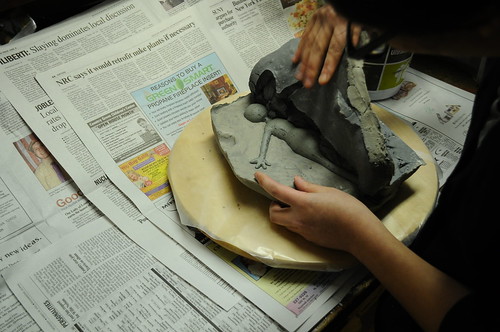
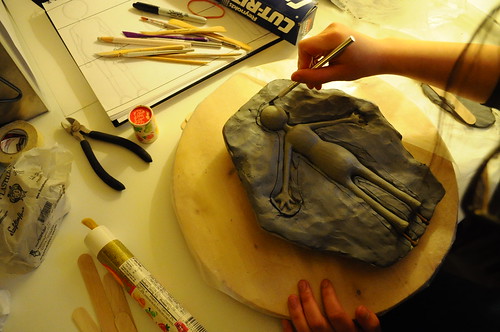
I started out by building up the clay bed around my sculpt with water based clay. The wall comes about halfway up the sculpt and I forgot to do this, but you can draw a line on the sculpt with a sharpie, splitting it in half so you know how high to build up the clay.
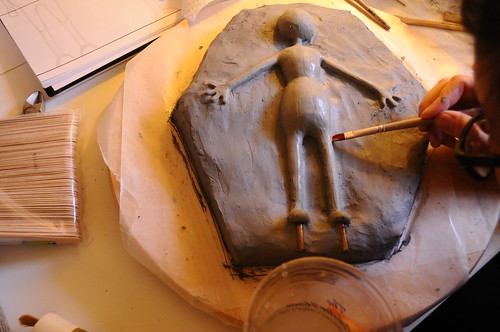
I then cleaned off any excess clay with a brush and some water and smoothed out the surface of the clay bed.
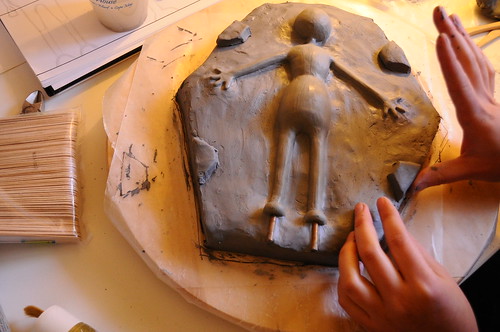
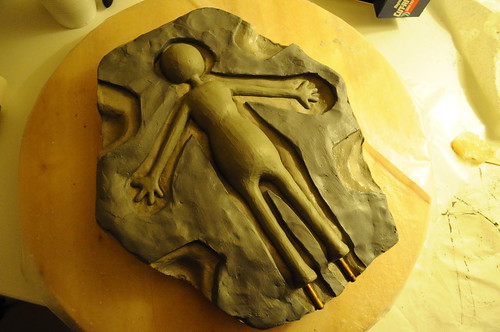
I made some keys and stuck them on to ensure that the mold halves would fit together properly.
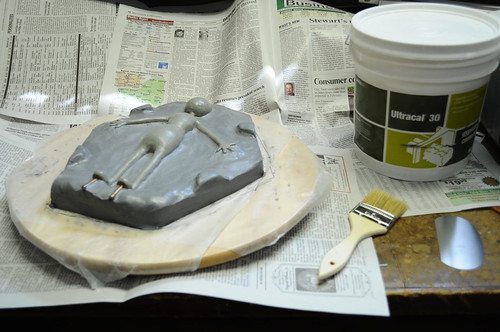
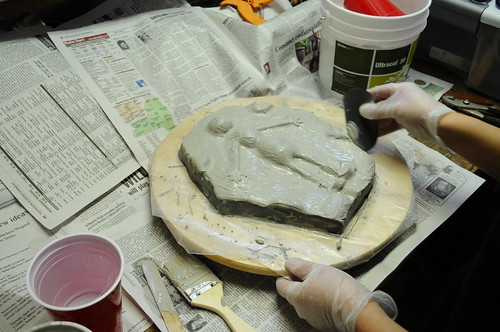
I sprayed the clay bed with some crystal clear, let it dry and was ready to do the first half of the mold. For the actual mold, you're going to need Ultracal 30, a chip brush, a scraping tool, some burlap, and gloves.

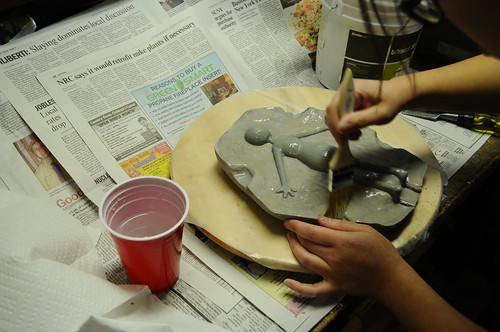
Start out by mixing some Ultracal 30 and water so that you have something that resembles a thick soup. Brush it onto your clay bed and let it set up for about five minutes. Repeat this process until you have a few layers built up.
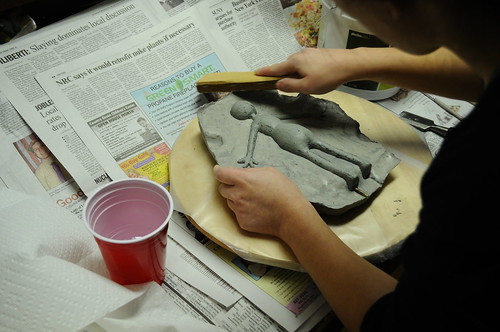
After every layer, you want to scrape down the sides to keep them even and straight.
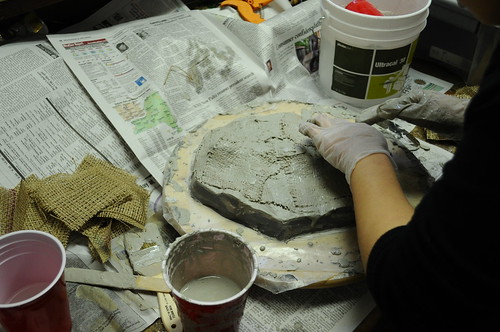
When you have a few layers built up, apply a layer of burlap. This will help strengthen your mold and keep it together.
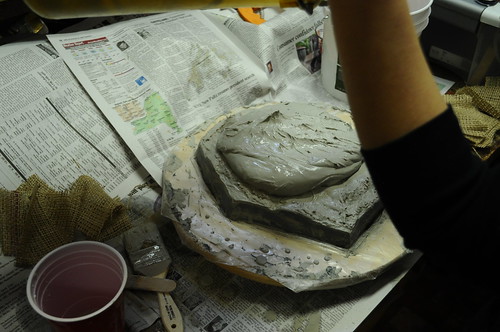
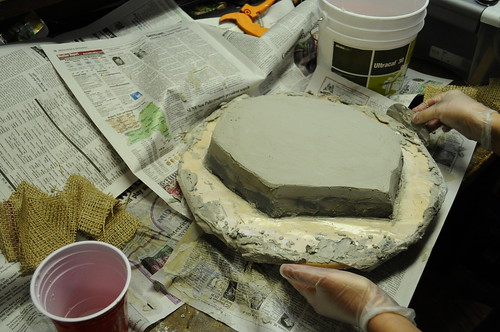
Then make a really thick mixture of Ultracal 30 and water, something that resembles clay. Plop it on, smooth it out, and let it set up for a couple of hours.
After the first half has set up, you can flip the mold over and peel off the clay bed. Sand off any sharp corners and clean off any clay stuck on with some water.
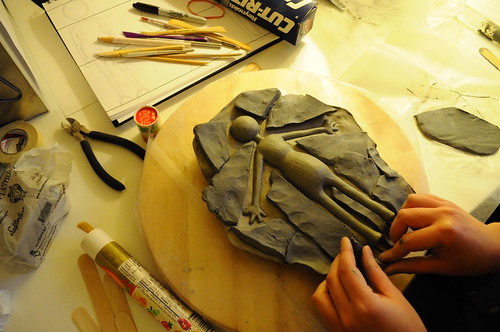
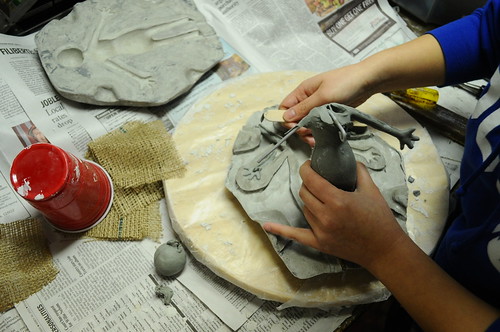
Roll out some sheets of clay and cut pieces to fit around your sculpt. Smooth out the clay so that it actually meets your sculpt.
Then take an exacto knife and cut out around your sculpt, removing the clay so that you have a "wall." Also cut and remove the clay over your keys.
Brush on petroleum jelly anywhere that Ultracal is showing. Don't forget to do this or your mold halves could stick together! Spray on a coat of crystal clear and you're ready for the second half! Repeat the process of mixing up the Ultracal, applying several layers, then the burlap, then the top layer, and smoothing it all out and letting it set up for a couple of hours. After the Ultracal has set, sand down the sides of your mold and pry the two halves apart.

Peel the clay off, remove your sculpt, sand any sharp edges or corners, and thoroughly clean your mold with some water and dish detergent.
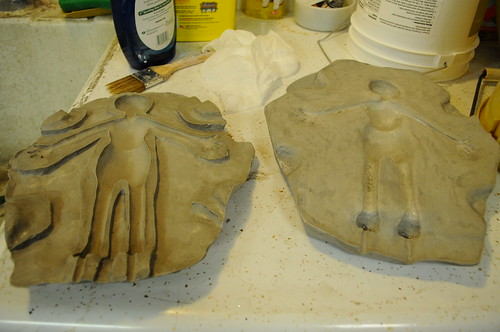
And that's it! You now have a mold ready for the armature and foaming! This was a pretty labor intensive process, but definitely worth it in the end. I made a few mistakes along the way, but nothing that derailed me completely. One, I wish I had gotten my supplies in better order before starting. I kept on forgetting little items and it got annoying to have to wash my hands or take my gloves off to get what I needed. Two, it's not really visible from the photos, but my mold is on the thin side. This is because I ended up running out of Ultracal and had to stretch to make it work. I accidentally wasted a bunch of it in the beginning when I mixed too much at once and it hardened up before I could apply another layer. Third, I should have worn a mask when mixing up the Ultracal, it kept on making me sneeze and I'm sure breathing it in wasn't great for my health. Mistakes aside, I learned a lot from this first run and I'm really happy with how the mold came out! Onto the armature and foaming stages!
I know this is pretty long post, but if you've made it this far, thanks for reading and I hope you get to make a puppet of your own!
No comments :
Post a Comment